Technical flats · 8 min read
How to draw technical flats in Adobe Illustrator
A written method you can follow for any garment: set up the file, draw half, mirror it, add the stitching and build the back from the front.
The short answer
To draw a technical flat in Illustrator, place a body template on a locked layer, draw half the garment with the Pen tool, mirror it with the Reflect tool and join the two halves. Then add seams, then dashed stitch lines on their own layer, and copy the front to build the back. Check it for symmetry and closed shapes before you use it.
Most of the teaching on this is in video courses. This is the same method written down, so you can follow along at your own speed. It works for any garment. If you would rather see one garment start to finish, read how to draw a T-shirt flat.
The tools you will actually use
Illustrator has hundreds of tools. Flats need about ten of them.
| Tool or command | Shortcut (Mac) | Used for |
|---|---|---|
| Pen | P | Drawing every line |
| Direct Selection | A | Moving single anchors and handles |
| Anchor Point | Shift + C | Turning a corner into a curve and back |
| Reflect | O | Mirroring half a garment |
| Join | Cmd + J | Closing the two halves into one shape |
| Offset Path | Object > Path | Parallel stitch lines |
| Stroke panel | Cmd + F10 | Line weight and dashes |
| Layers panel | F7 | Keeping parts apart and named |
| Smart Guides | Cmd + U | Snapping anchors together |
| Rulers | Cmd + R | Pulling out guides |
Step 1: Set up the file
Start a new document and make one artboard big enough for a front and a back side by side, or one for each view. Turn on rulers and Smart Guides. Set a 1 pt black stroke with a white fill, because a white fill lets you stack shapes the way real garment pieces stack.
Save this as a template now, so you only do it once.
Step 2: Lock a body template
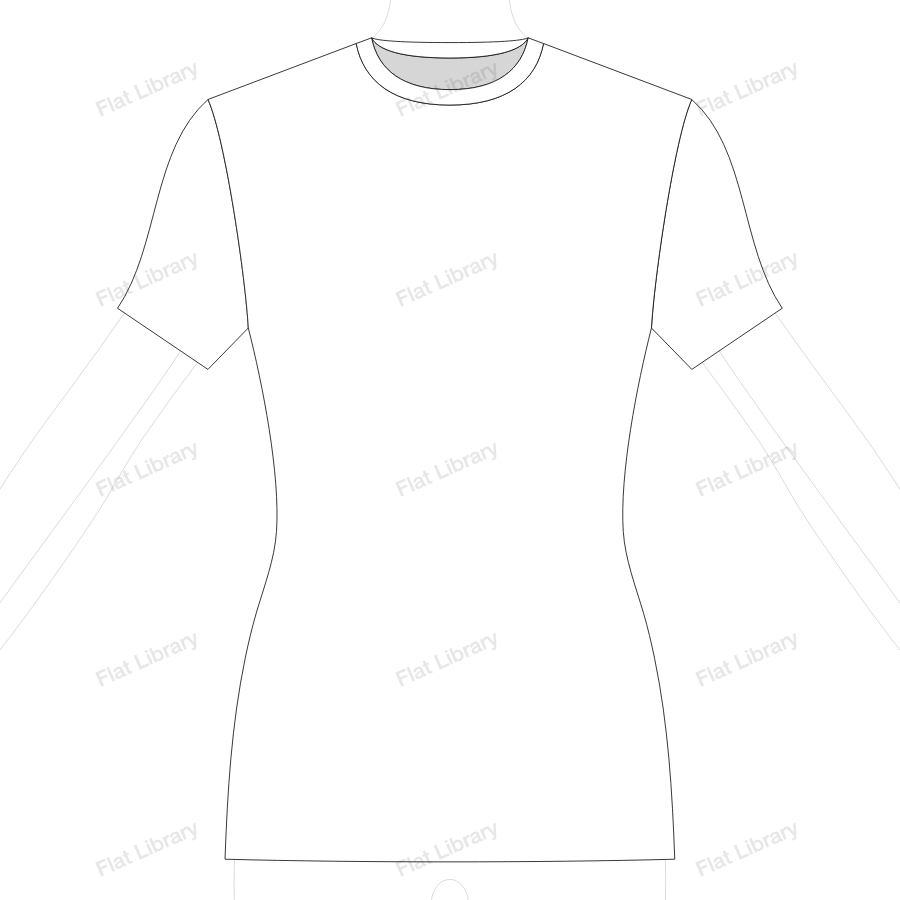
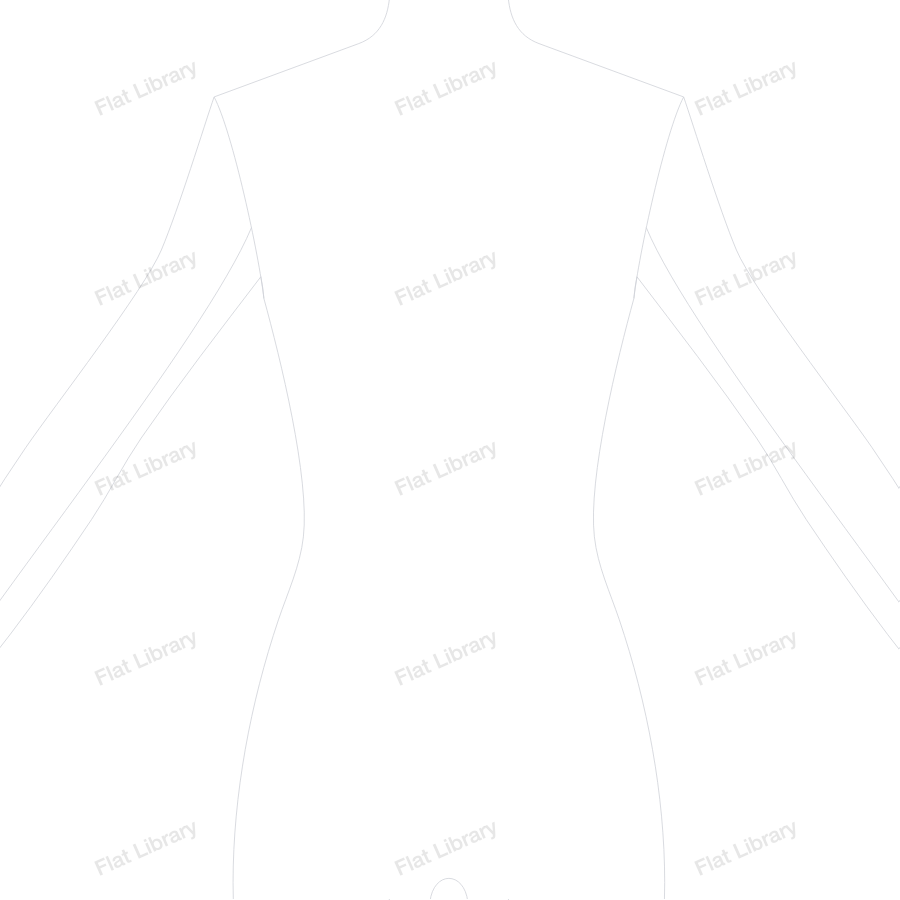
Place a figure on its own layer, set it to a light grey, and lock the layer. This is your scale. Every garment you draw over it comes out in the same proportion, so a range looks like it belongs together. Name the layer so it does not get deleted by accident.
Working from a real garment instead? Photograph it flat, straight on, with a ruler in shot, and use that as your template layer. It keeps you honest about proportions, which is where most flats go wrong.
Step 3: Add a centre line
Drag a vertical guide from the ruler to the centre front of the figure. You will draw on one side of this line and mirror across it, and it is the line you use to check everything sits straight at the end.
Step 4: Draw half the outline
Make a new layer called Body. With the Pen tool, draw half the garment, starting at the centre front neck, then out along the neckline to the shoulder, down the armhole, along the side seam and back along the hem to the centre.
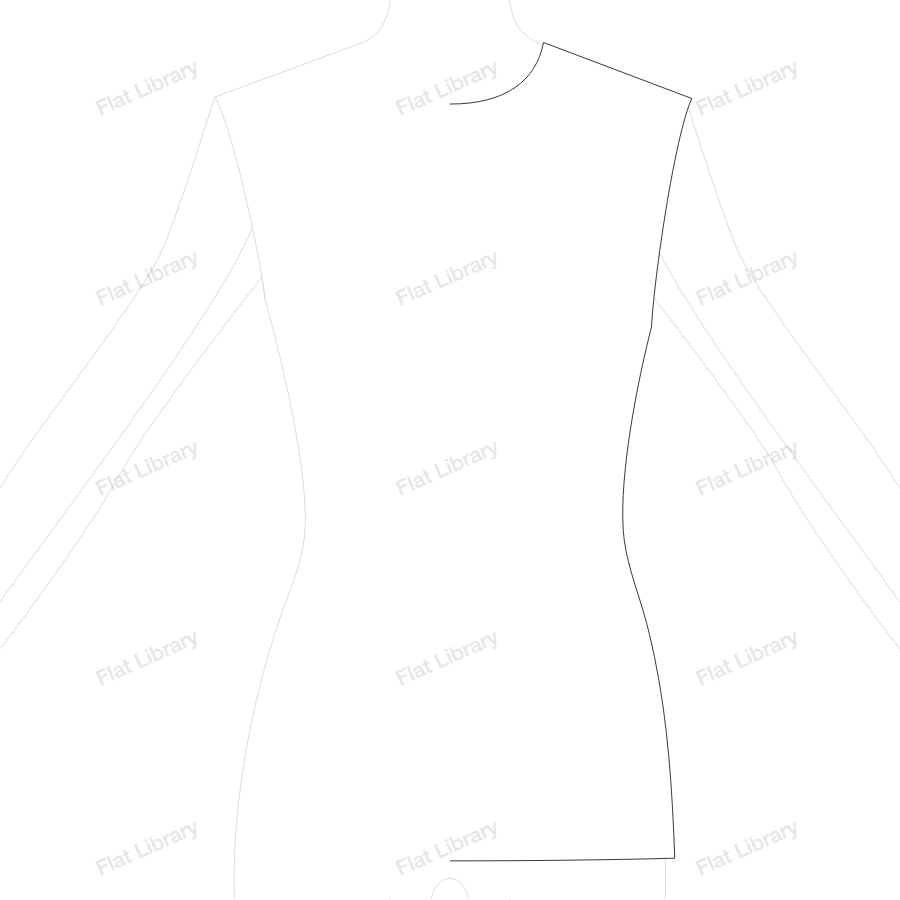
Three habits make your lines look professional:
- Use as few anchors as you can. Put one where a line changes direction and nowhere else. Fewer anchors give smoother curves and easier changes.
- Keep handles short and in line. A smooth curve has handles that sit straight through the anchor.
- Hold Shift for straight lines, and make the neck and hem meet the centre line at a right angle. If they do not, mirroring leaves a point in the middle.
Step 5: Mirror and join
- Select the half you drew.
- Press O for the Reflect tool. Hold Option and click the centre guide, choose Vertical, then Copy.
- With the Direct Selection tool, select the two open anchors at the neck and press Cmd + J to join them. Do the same at the hem.
You now have one closed shape. That matters: a closed shape can be filled with colour, and a fill will not leak out of it.
Step 6: Add seams and details
Build each piece as its own shape on its own layer, so the file is arranged like the garment is. Sleeves go behind the body, a collar goes on top. Seams inside a shape, like a waist seam or a princess line, can be plain open lines.
Repeat items such as buttons and eyelets are best as symbols. Change the symbol and every button in the file changes with it.
Step 7: Add stitch lines
Stitching goes on its own layer, so you can hide it or change it all at once.
- Copy the edge the stitch follows, or use Object > Path > Offset Path to get a parallel line. Inside the garment, the offset will be negative.
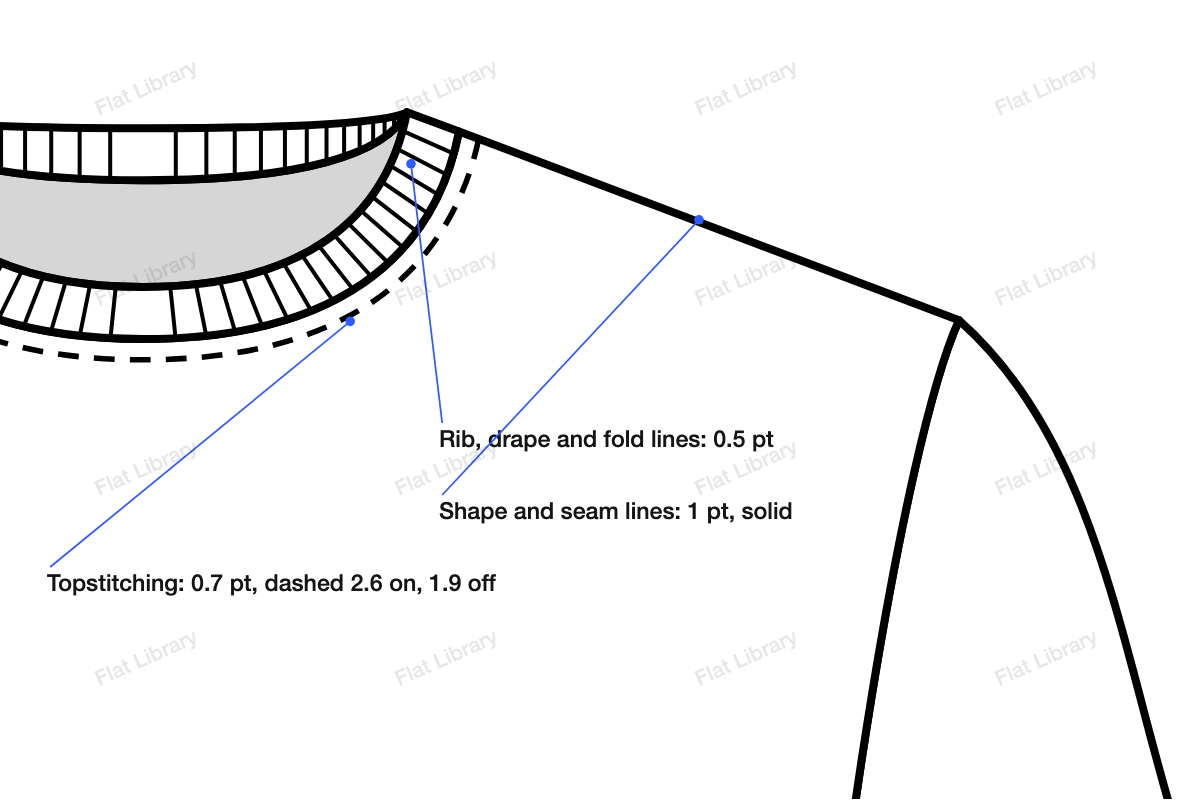
- In the Stroke panel, set the weight to about 0.7 pt and tick Dashed Line. Try a dash of 2.6 pt and a gap of 1.9 pt.
- Remove any extra anchors or end points you do not need, so the stitch stops where the garment does.
Save that look as a graphic style, so one click gives you the same stitch next time. Our guide on line weights and stitch lines goes deeper, including twin needle, coverstitch and bartacks.
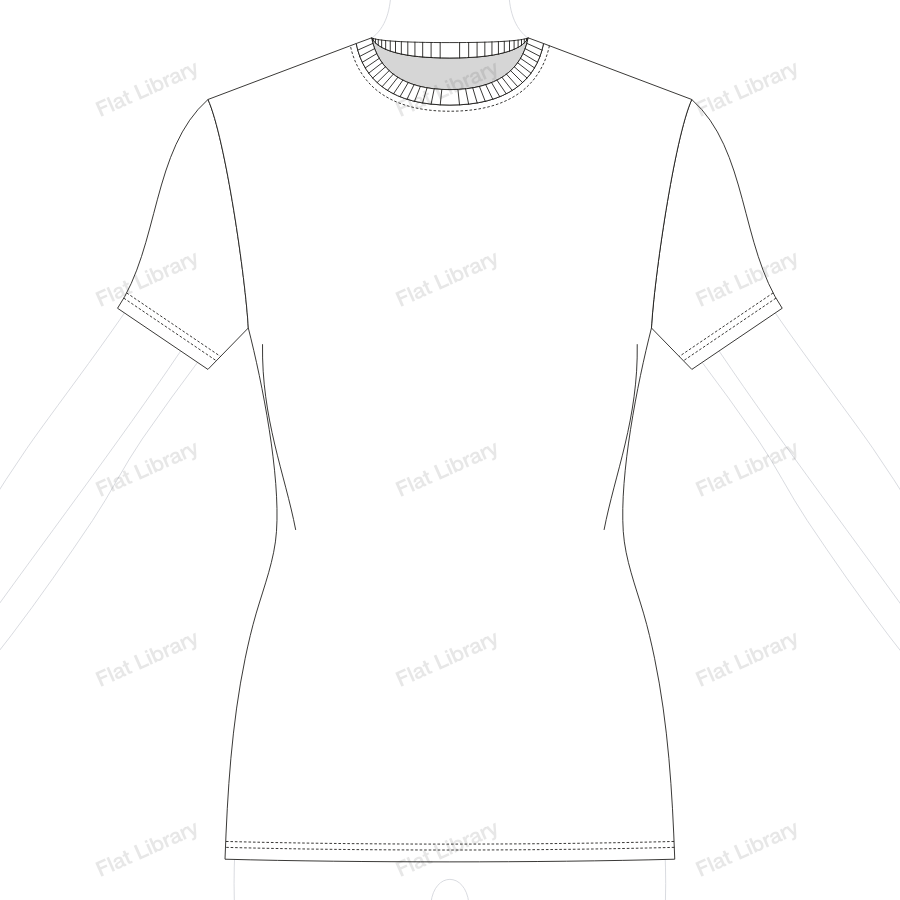
Step 8: Build the back from the front
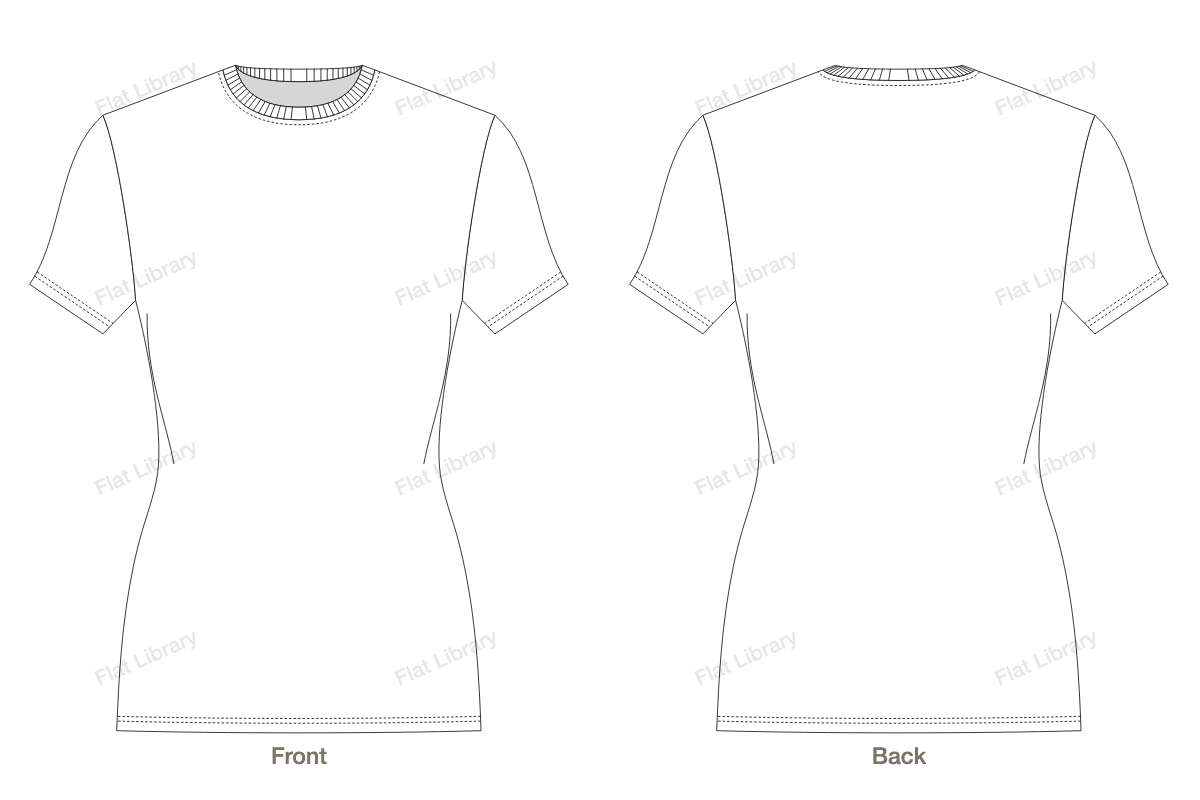
Duplicate the artboard or group. The back shares a lot with the front: shoulders, side seams, hem and sleeves should match exactly, so leave those alone. Then replace what is different.
- Raise the neckline, because the back neck usually sits much higher than the front.
- Remove the inside back neck shape, since it is only seen from the front.
- Remove front-only details like plackets and pockets, and add yokes, darts, vents and back zips.
If you change the front later, remember to change the back too. Forgetting this is one of the most common faults in flats.
Step 9: Name your layers
Open the Layers panel and rename things: Sleeve L, Sleeve R, Body, Neckband, Stitching. It takes a minute, and anyone who opens the file later, including you, can find what they need. Group each view too, so it moves as one.
Step 10: Check it
- Turn the template back on. Could the garment fit that body? Are the sleeves long enough to reach the wrist?
- Look at the outline mode (Cmd + Y). Stray points and unjoined ends show up clearly.
- Fill everything with a colour. A colour that leaks or leaves gaps means a shape is not closed.
- View it at the size it will be printed. If the stitching turns to a grey smudge, the dashes are too fine.
- Compare front and back side by side. Do lengths, shoulders and side seams line up?
Notes for other garments
Skirts and dresses
Mark the waist on the template first, since everything hangs from it. A hem on a full skirt is a gentle curve rather than a straight line. Pleats and gathers are short, fine lines that fade out instead of running the full length. Browse skirt flats and dress flats to see how the details are handled.
Pants
Draw one leg, then mirror it. The centre front seam and fly belong on the front view, and the back rise is usually higher than the front. Waistbands are their own shape. Pants flats show the fold lines on each shape.
Jackets and coats
Lay a jacket over the garment under it, so it sits a little bigger than a shirt would. Lapels and collars go on top. Remember that a double-breasted front is not symmetrical, so draw it as a whole rather than mirroring it. See jacket and coat flats for examples.
When to stop drawing from scratch
Once you can draw one garment, the smart move is never to draw it again. Save every good flat, then start the next style by changing the closest one you already have. Teams call that collection a flat library, and it is how flats get done quickly in practice.
Questions people ask
Is Illustrator the best program for technical flats?
It is the most common one, because flats are vector line work and factories and tech pack templates expect it. Other vector programs can make the same drawings, but most files you get from colleagues and clients will be Illustrator files.
How long does it take to learn to draw flats in Illustrator?
The tools are learned fairly quickly, and the Pen tool is the main hurdle. Drawing flats that are accurate and quick takes much longer, because a good flat depends on knowing how garments are built as well as knowing the software.
What should the stroke weights be?
There is no single rule. A sensible start is 1 pt for outlines and seams, about 0.7 pt dashed for stitching and 0.5 pt for fine detail like ribbing. See the guide to line weights and stitch lines for more.
Should I draw flats to scale?
Draw over a consistent template, so everything is in proportion and styles match one another. A flat is a guide to shape rather than a pattern, and nobody should measure off it. Exact sizes belong in the tech pack.
Can I use the Image Trace tool on a sketch?
It is rarely worth it for flats. Traced lines come out with too many anchors, uneven curves and no structure, so they are hard to edit and look rough. Redrawing with the Pen tool usually gives a cleaner result, and often takes less time.
Should I use brushes or dashed strokes for stitching?
A dashed stroke is the simplest, and easy to change later. Pattern brushes are worth making for things a dash cannot show, like zigzags, overlock, chain or a zip. Keep the brush file with your templates so every garment matches.